Page History
| Panel | ||||||||
|---|---|---|---|---|---|---|---|---|
| ||||||||
This page shows two side-by-side examples of a basic search in the Classic and New ("Missions") Search forms. On this page...
|
| Excerpt | ||
|---|---|---|
| ||
This page shows two side-by-side examples of a basic search in the Classic and New ("Missions") Search forms. |
Search Parameters
In this example search, we'll be looking for UV observations of the edge-on galaxies M102 and M104. The left column will follow this process in the classic search form, while the right column will do the same in the new search form.
Entering your Target(s)
Manually

In the old search form, there were three fields you could fill with information about the target(s): 'Target Name', 'Right Ascension', and 'Declination'. To avoid resolving a target (for example, when looking for a a Solar System object), you could select 'Don't Resolve' from the dropdown menu.
The 'Equinox' box allowed you to specify the equinox of your choice: either B1900, B1950, or J2000.
Search 'Radius' had to be entered in arcminutes, and could be either an integer or floating point number.

The new 'Object Name' box allows you to search by target name, or enter the coordinates directly. With the 'Resolve' box checked, the names will be resolved by a query using Simbad, NED, and several databases internal to MAST. The box will turn green if the target is successfully resolved, or yellow if it is not. You can uncheck the box to turn off the resolve function, allowing you to search by direct matches of the target names as submitted in the proposals; this is especially useful when looking for Solar System targets. Wildcards are supported using '*' if the Resolve box is not checked.
There is no 'Equinox' option in the new search; all searches are assumed to be J2000.
'Search radius' can now be specified in either arcminutes or arcseconds. Any inputs will be rounded up, to the nearest integer.
By Uploading a File
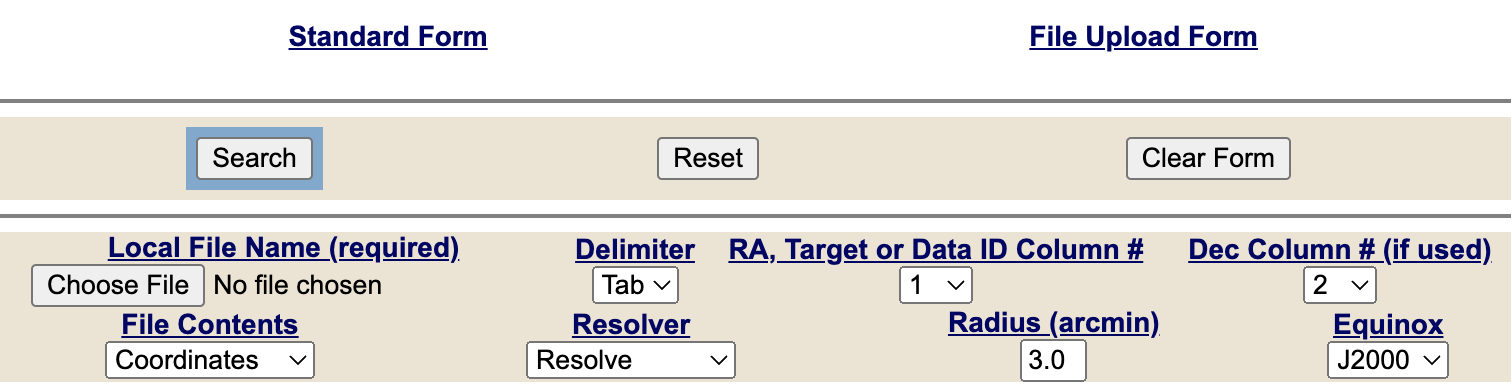
To upload a file required switching to the 'File Upload Form'. From here, you could upload your file, then edit the search fields to reflect your file structure.

The 'Upload List of Objects' button is located above the search bar, to the left of the 'Resolve' checkbox. When you click it, you're given the option to select your CSV file containing a list of targets. The first row of this CSV should be a header containing the column names. For more details about acceptable formatting, and to see examples, see the Upload List Search page.
Selecting Instruments
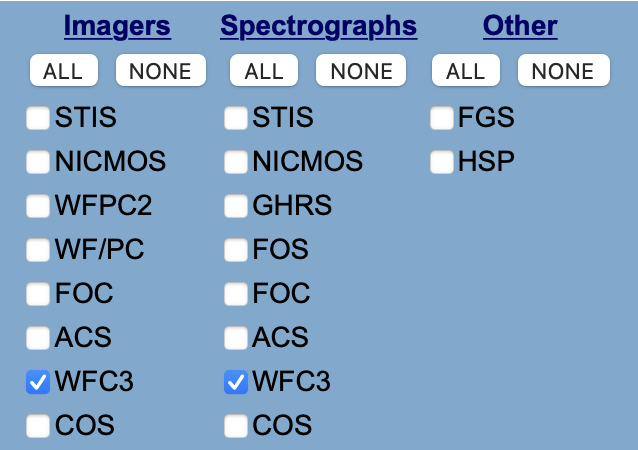
Instrument selection was divided into three sections: 'Imagers', 'Spectrographs', and 'Other'. To get all data from the WFC3, as we do in the example, you must select it in both the 'Imagers' and 'Spectrographs' columns.

The new instrument collection field is notably changed from its predecessor: you first select the type of data you want (i.e. Spectrum, Image, or All), then select the associated instruments. This has the advantage of making it a single-click selection.
In the upper right of the instrument selection, there are two checkboxes; the left option is used to select all instruments, while the right option deselects all instruments. 
These search fields also present an opportunity to select Science data, Calibration data, or All. These categories are set by the data processing pipeline; generally, you will want to specify 'All' or 'Science'.
Filtering by Given Fields: Exposure Time
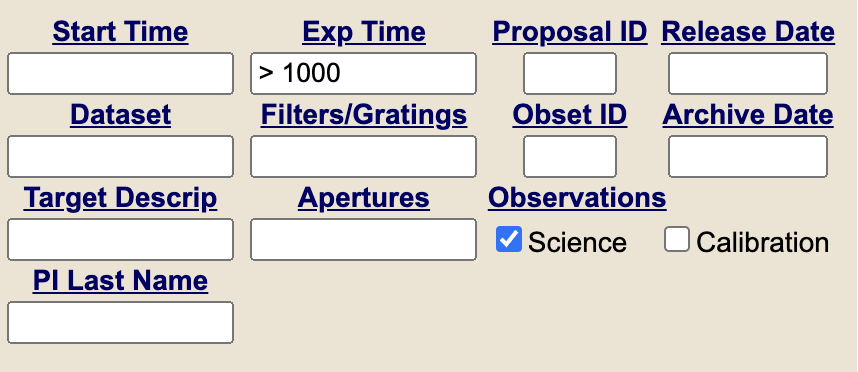
Many queryable fields were available to be filled in on the Classic Form. In this example, we filter for observations with an exposure time longer than 1000 seconds.
The same fields from the Classic Form are also available in the Missions Form. Although their shapes have changed, their core functionality remains the same; entering '>1000' in the exposure duration field still returns results with an exposure time greater than 1000 seconds.
Filtering by Other Fields: Wavelength

In the Classic Form, it was possible to add a maximum of two 'User-specified' fields. You could choose one option from a drop-down menu, then enter an appropriate value in box to its right.
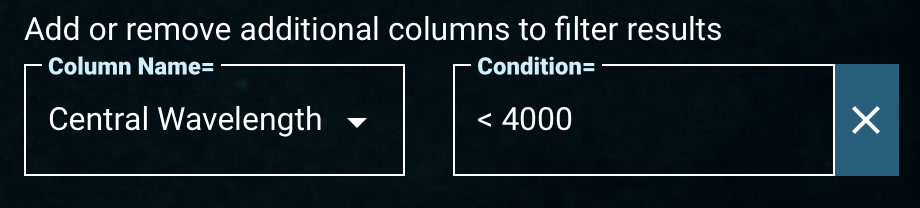
Unlike the Classic Form, the Missions Form is not limited to two additional fields. You may add more by clicking the 'Add Another Condition' button. 
You can search for an additional column by typing directly in the box. The 'typeahead' feature will suggest criteria based on matching column names and column descriptions.
Results

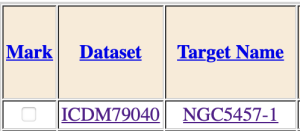
In HST Classic, the results are segregated by target. For the search we performed, this results in two tables: one for M102, and one for M104.
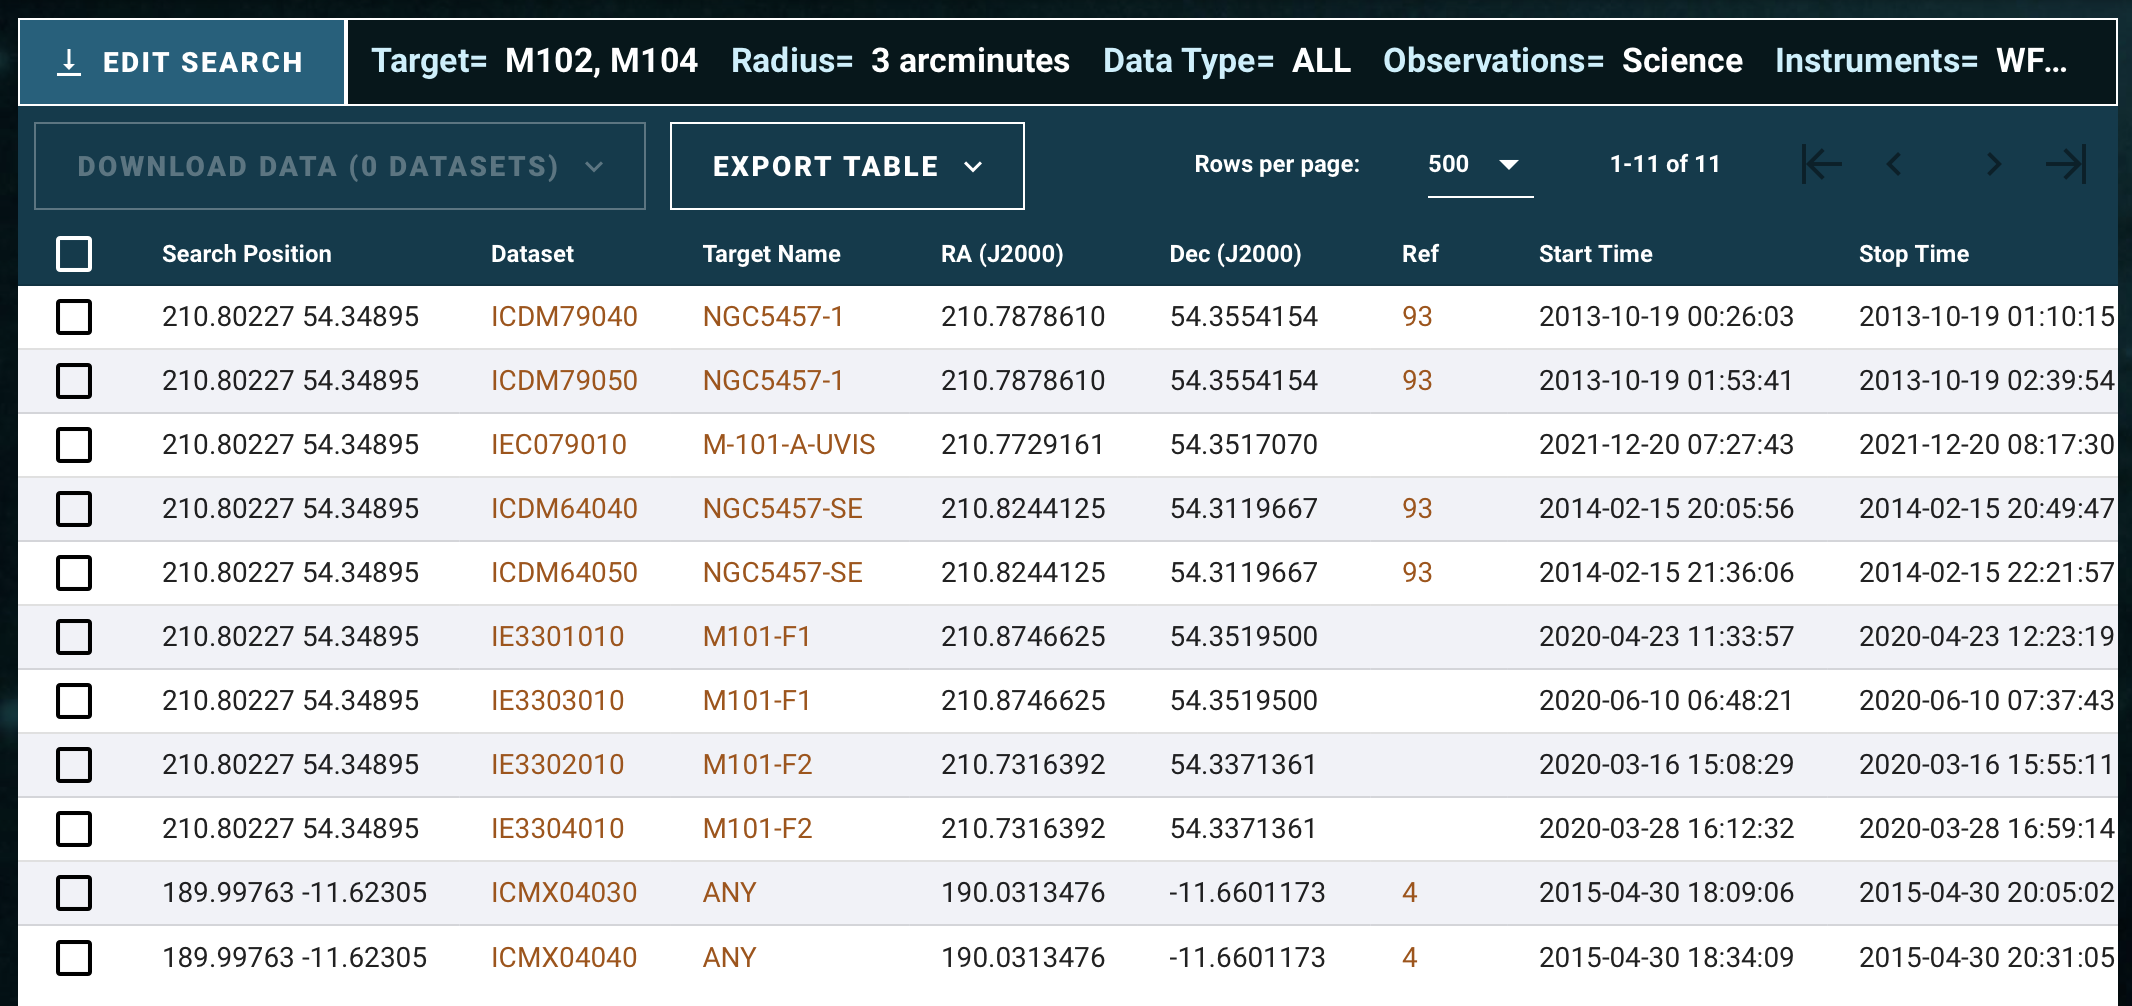
In the Missions Form, all results are collated into one table. This makes it possible to filter and sort across all of your results at once.
Previews
To access an image preview, you could click on the link under either the 'Dataset' or 'Target Name' columns.

As before, you can click on the link under either column to open a preview page. The preview page is identical to the one from the HST Classic Search.
Downloads

After selecting your desired observations, the data had to be staged for retrieval from STDADS. This required an email address so that you could be notified when the files had been staged.
Using file options, you could select a desired file option or extension, but not specific files.

As in the old search form, you first select your desired observations. Then, click the 'Download Data' button to open the Download menu displayed above. 
You can still filter by file option or extension. There are also additional options to individually select files from the list using the checkboxes or use the 'All', 'None', or 'Recommended' options.
After selecting the files you want, the 'Download with API Query' and 'Start Download' buttons will become active. 'Start Download' is quick and convenient for small batches of files. If your query includes many thousands of files, or is larger than a few GB, you should use the API Query option. This will generate a curl script that you can run at your convenience to download your files.