This tutorial will show you how to explore TESS data of known exoplanets or planet candidates through the exo.MAST web interface. For the purposes of this tutorial, we'll be using the known exoplanet WASP-18 b.
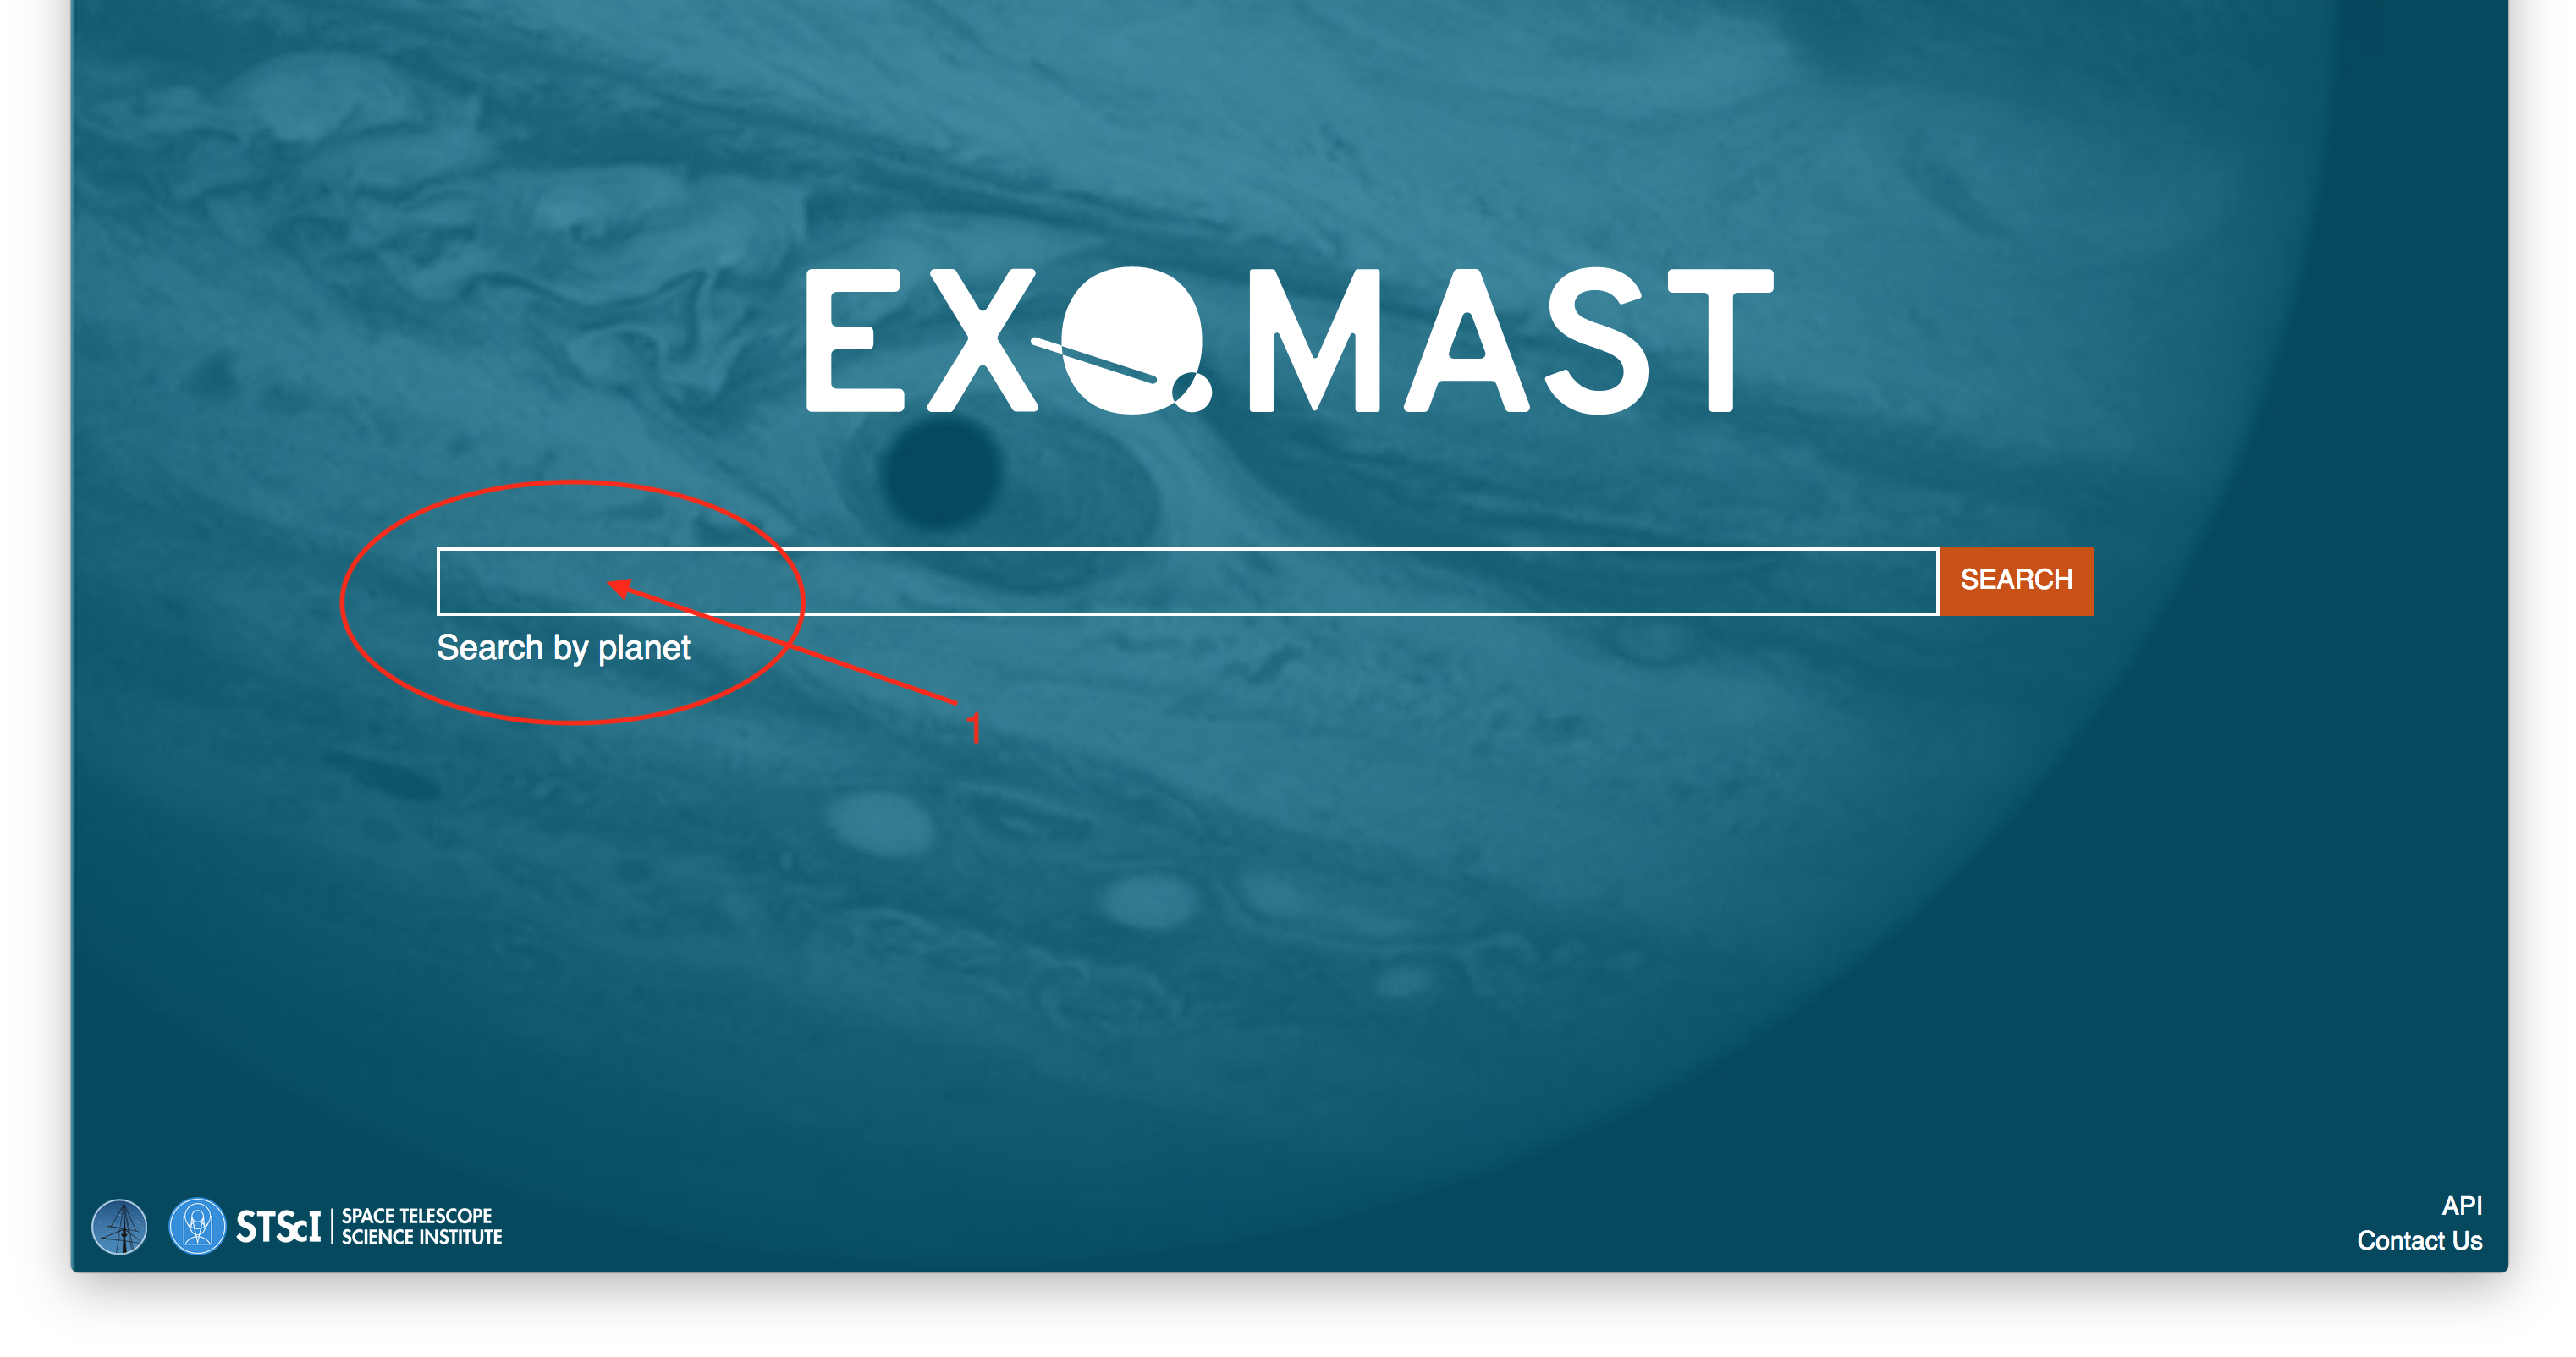
Step 1 - Visit The exo.MAST Webpage: The first step is to visit the exo.MAST website. The search bar (Item #1) is where you can search for an exoplanet name, which can be exoplanet names in exoplanets.org, NASA Exoplanet Archive, or a TESS Threshold Crossing Event ID (they have the form of <TIC_ID>.nn).
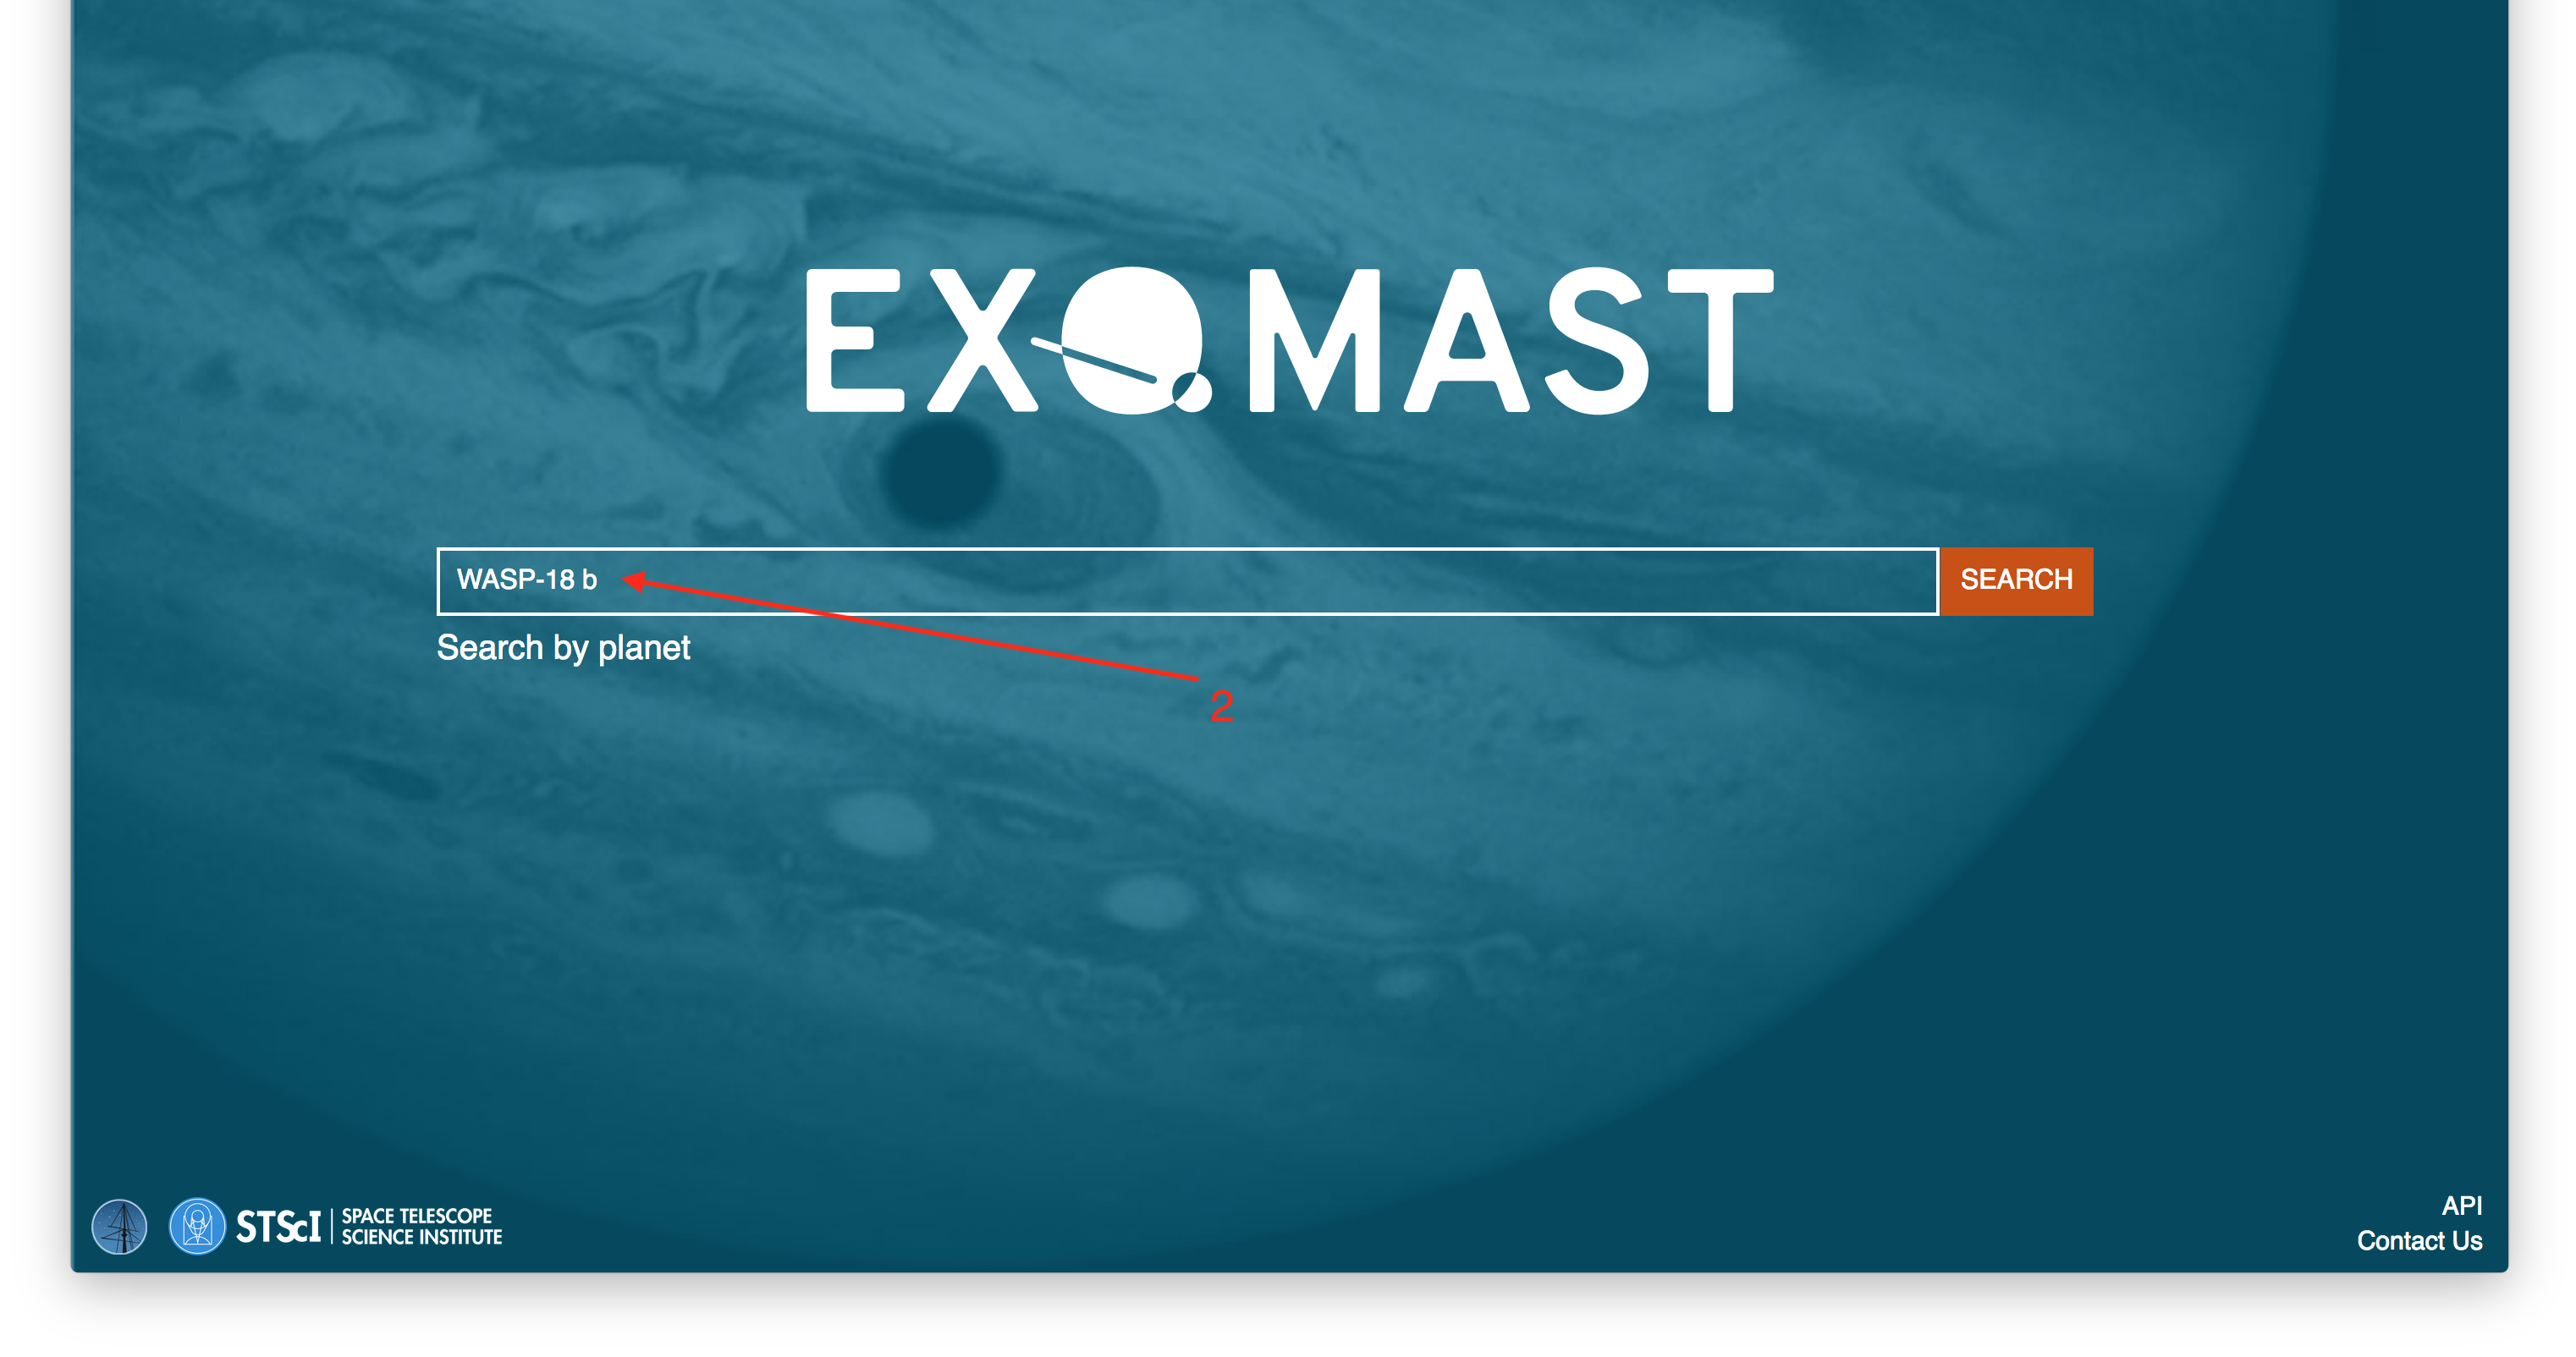
Step 2 - Search For Your Target: We will search for our target name, WASP-18 b. Note that the search bar has auto-completion that will suggest names in the database as you type (Item #1), so often you don't need to type in the full name of the planet. It's also a good way to check or remind yourself if a star has more than one planet or planet candidate that you are looking for the correct one. Note that currently, exo.MAST can only search on one planet or planet candidate at a time.
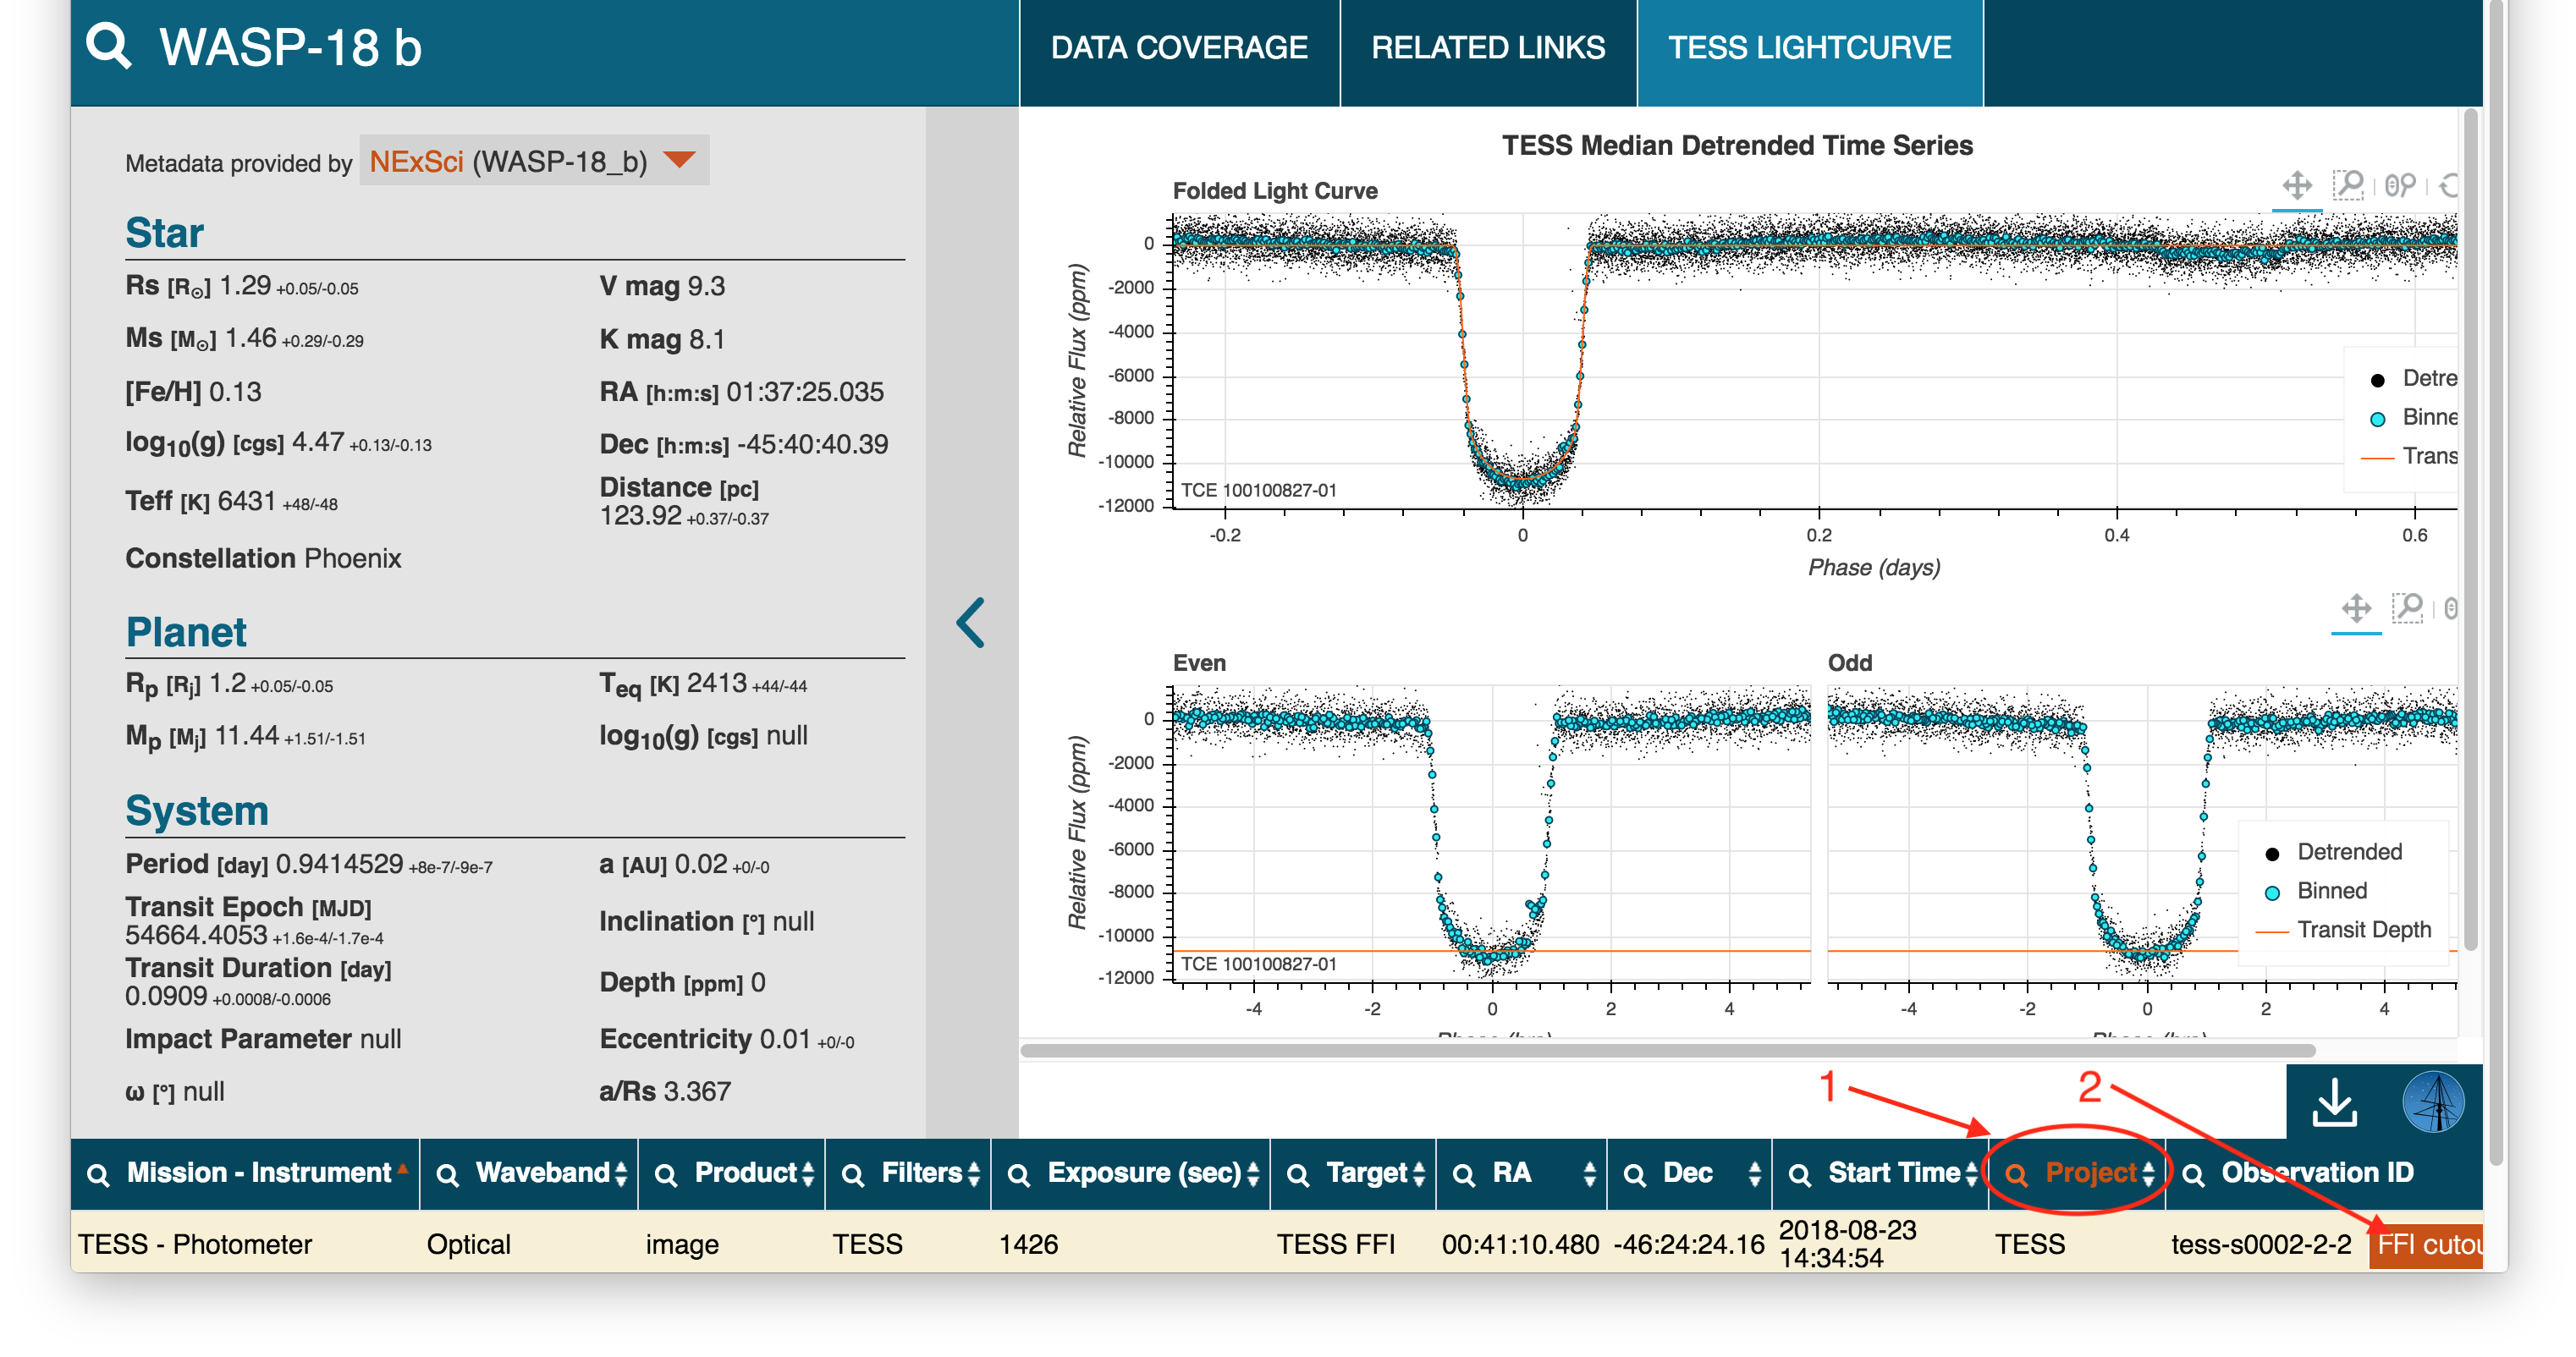
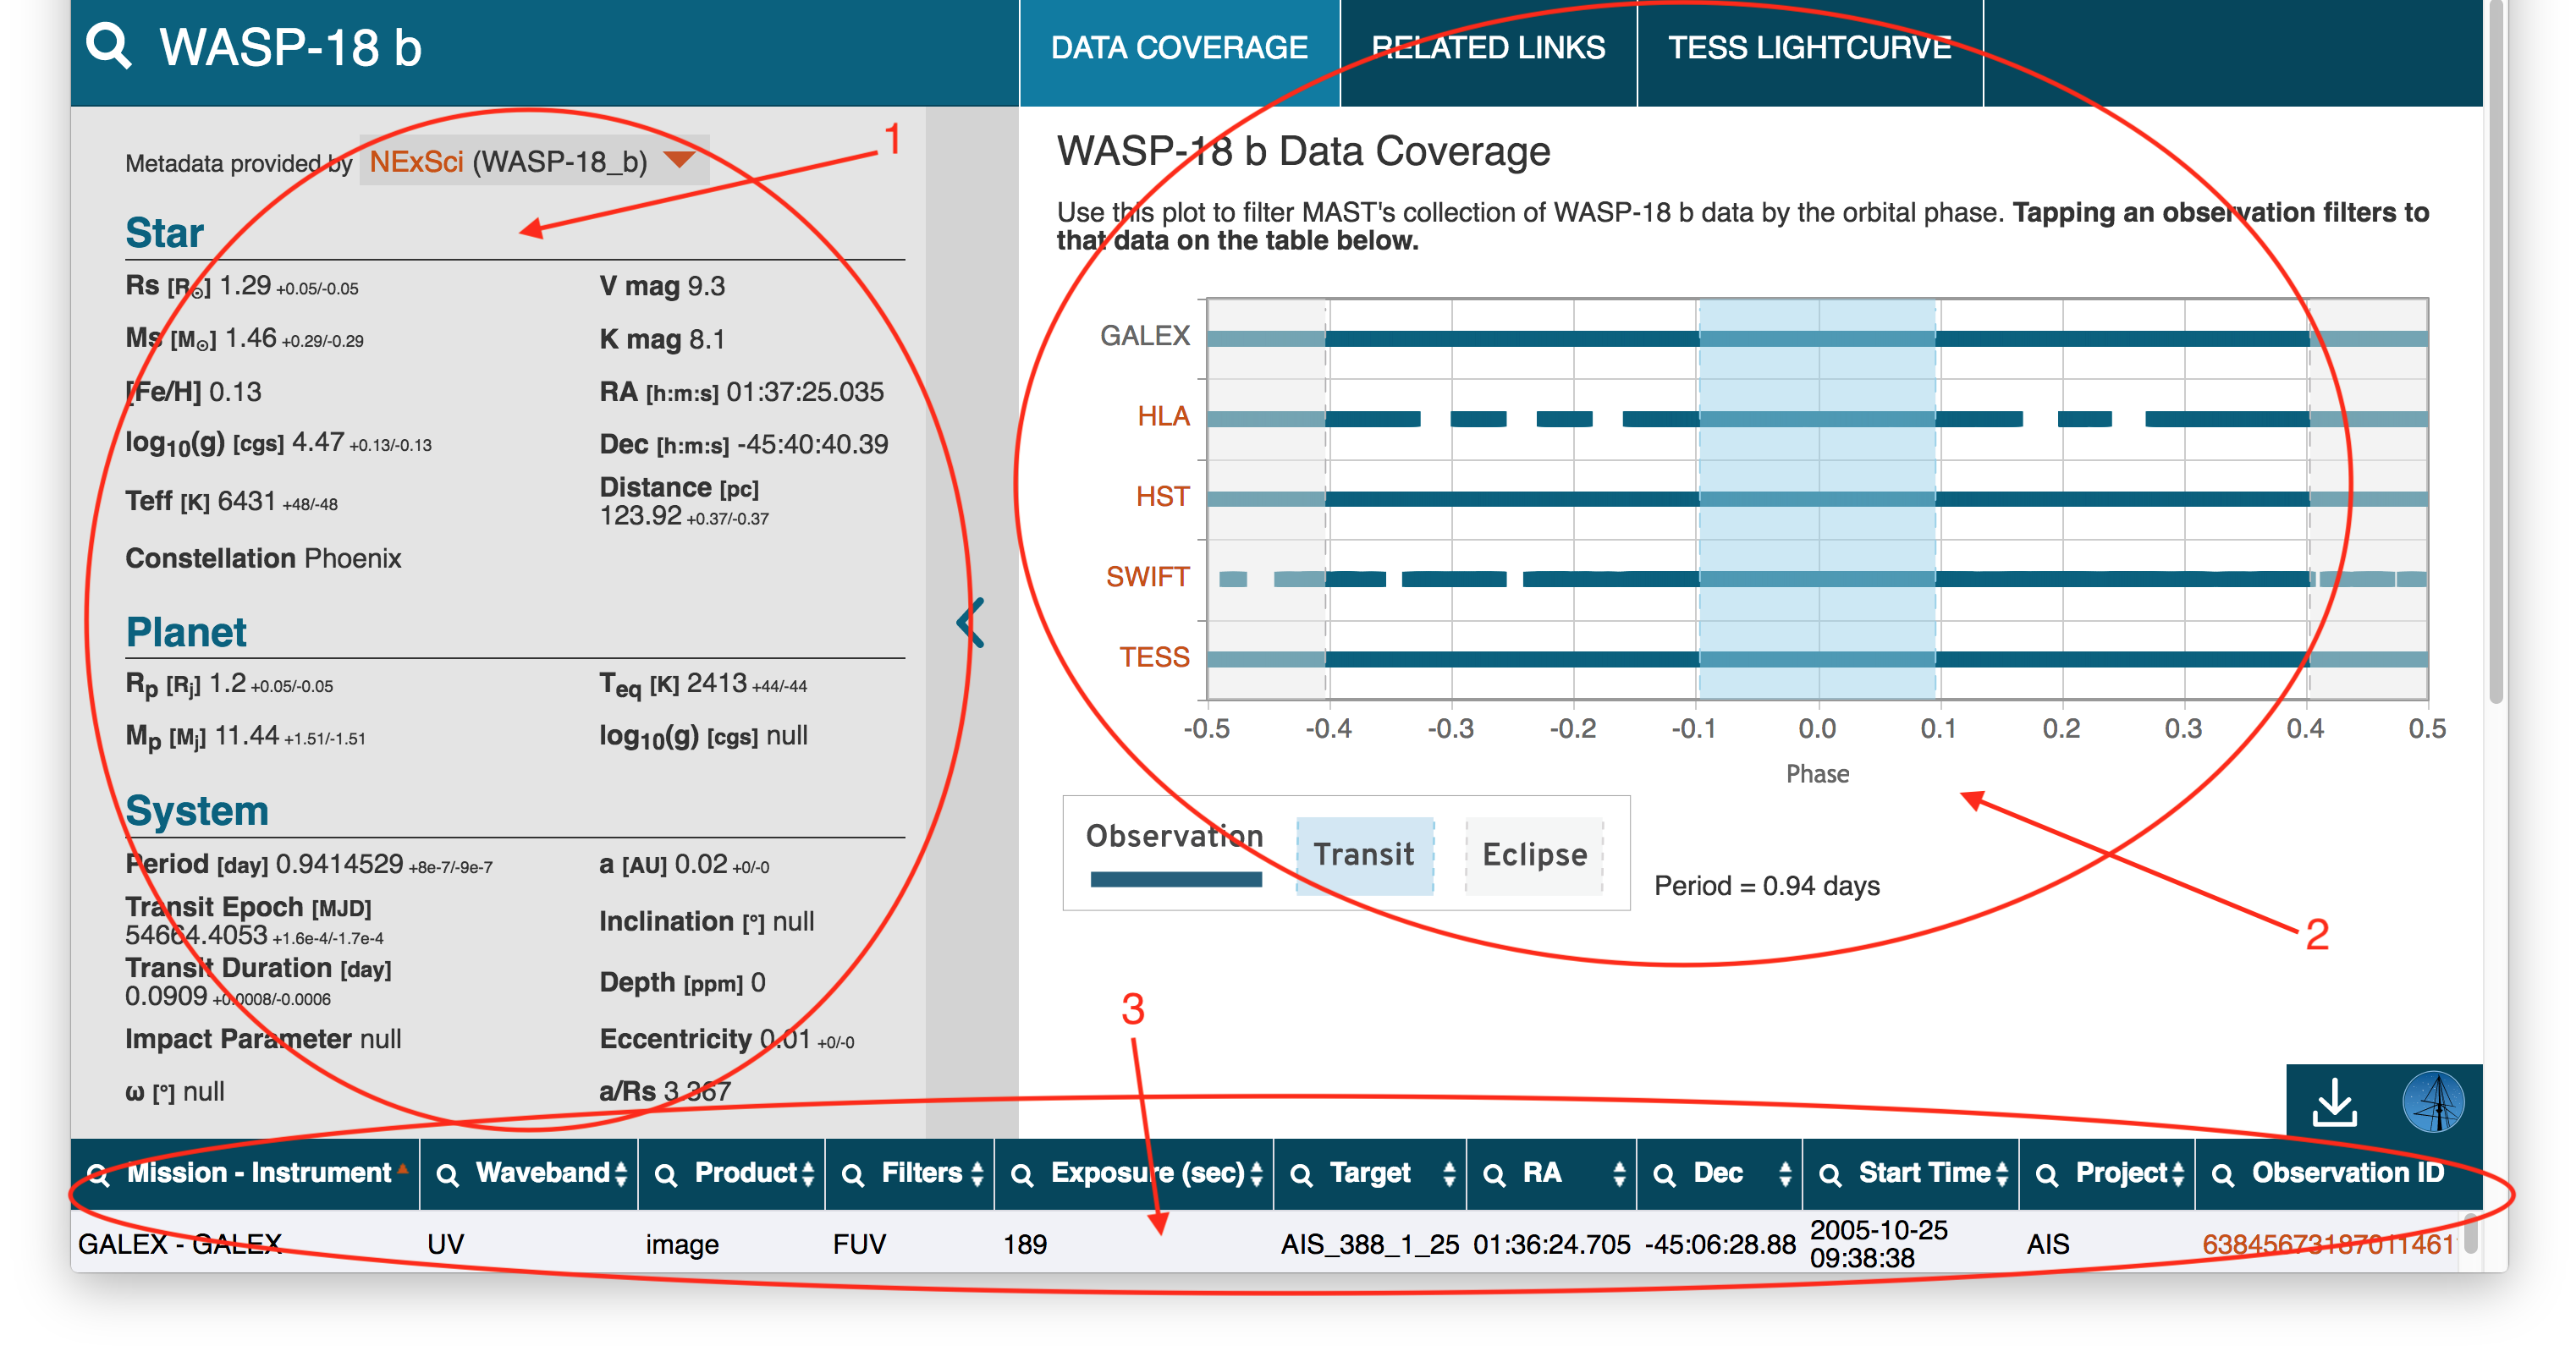
Step 3 - Explore The Main Sections On The Target Page: After you enter into a planet's page there are three main areas: the planet and stellar properties section (Item #1), the interactive plot section (Item #2), and the available MAST data section (Item #3). The properties section shows information in the database about the exoplanet and host star. You can change which of the available databases to display this metadata from using the Metadata provided by drop-down menu at the top of this section. If you hover your mouse over a property you will see the source of the displayed value (e.g., hover over the planet mass (Mp) label and you'll see the paper reference and a link to it on ADS. The Data Coverage plot shows available MAST data and where the observations land in orbital phase, with transit and eclipse phases marked in blue and grey, respectively. Use this information only for quick-look purposes: several factors are not currently accounted for, including stale ephemerides, non-zero eccentricies, or known transit timing variations. The phase coverage plot is most accurate for planets and planet candidates with recent ephermides, circular orbits, and no transit timing variations. The available MAST data section (cut-off in the screen shot below) allows you to download data from a select set of exoplanet-relevant MAST missions using a download basket, similar to how the Portal works.
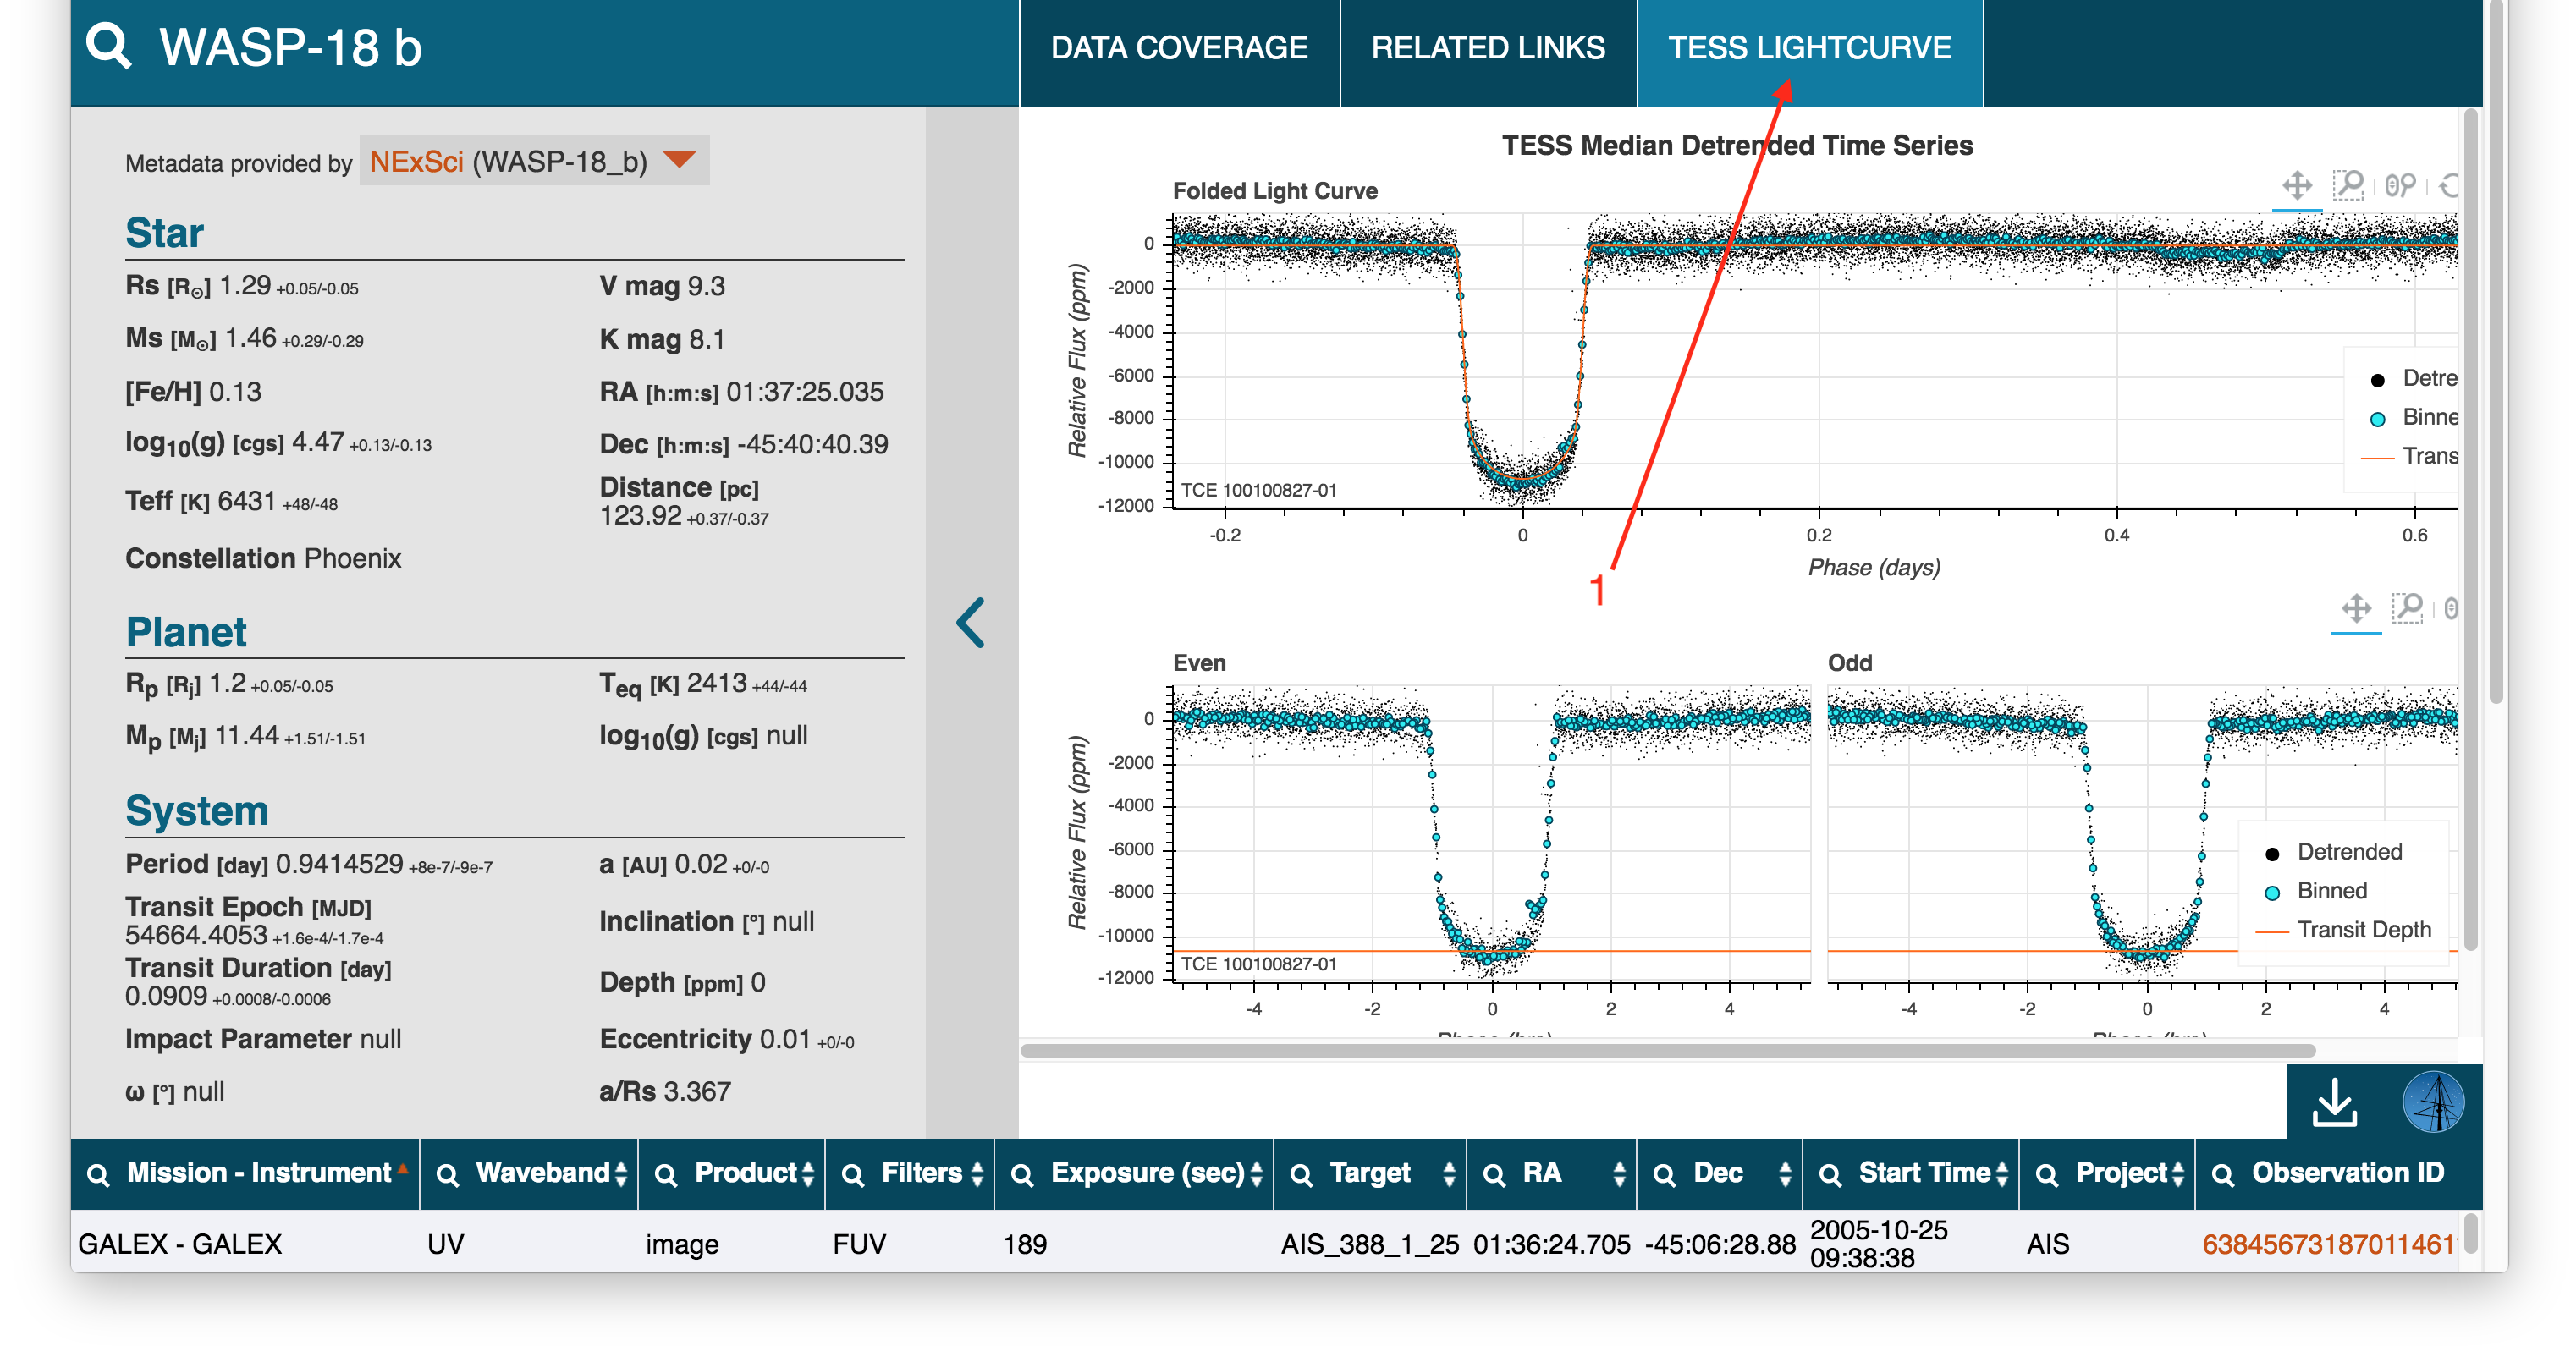
Step 4 - Display The TESS Data Validation Detrended Time Series: For any planets or planet candidates with TESS data validation time series (dvt.fits) files, you can plot the flux time series directly in exo.MAST via a Bokeh plot by clicking on the TESS LIGHTCURVE (Item #1). Note that if you are on an exoplanet page that doesn't have a TESS "dvt" time series available, you will not see the tab at all.
Step 5 - Filter The Available MAST Data For TESS Products: The table of available MAST data have columns that are both sortable and filterable. Click on the arrows to the right of a column to sort, and the magnifying glass icon to the left to perform basic filtering. In the Project column (Item #1) we will use the filter button and type in TESS to include only TESS data products in the table. This results in two rows: one with the full frame images from Sector 2 and one containing two-minute cadence data (light curve, target pixel, and data validation files), which is off-screen in the screenshot below. For rows with TESS full frame images, a TESSCut button (Item #2) allows you to create cutouts using the TESSCut Web Site UI pre-filled with the coordinates of the planet or planet candidate you are looking at! If you want to make your own target pixel files (if the postage stamp read out at two minutes did not contain enough pixels for example) this is a great way to analyze the full frame image data of exoplanets without having to download entire full frame images!